Implanting Dashboards
The Implant container allows a dashboard with a standardized structure to be reused to efficiently display data from different contexts. The following tutorial explains how to leverage the Implant container in order to reuse a single display dashboard for multiple different devices. The overall structure is as follows:
Create two virtual devices to use in the example.
Create a reference dashboard for a single device.
Create specific bindings to one of the devices.
Generalize the bindings of the reference dashboard to reference data from a custom property.
Create a parent dashboard and configure it with multiple Implant containers.
Consider the result.
Create Devices
Create two devices for demonstration purposes. The creating dashboards to monitor a device tutorial offers steps on how to create devices in Iotellect.
The following example uses virtual devices with descriptions
High FlowandLow Flow, shown in the system tree below.
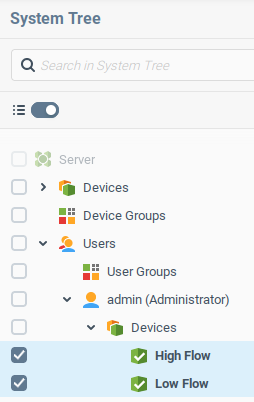
Note that both of these devices belong to the Administrator user. Note that in order to view data from this device in a dashboard, the user must have at least permission to view the device data.
Reference Dashboard for a Single Device
The next step is to display data from one of the specific devices.
Create a dashboard named
deviceDisplayAdd two label components to the dashboard.
To make the label value more visible, you can update the Container Style property under the Container Styles property group with the following data:
div {
  font-size: 2em; /* Adjust the font size as desired */
  text-align: center;
  display: flex;
  align-items: center;
  justify-content: center;
}For now, the dashboard will only display the default data of the label components.
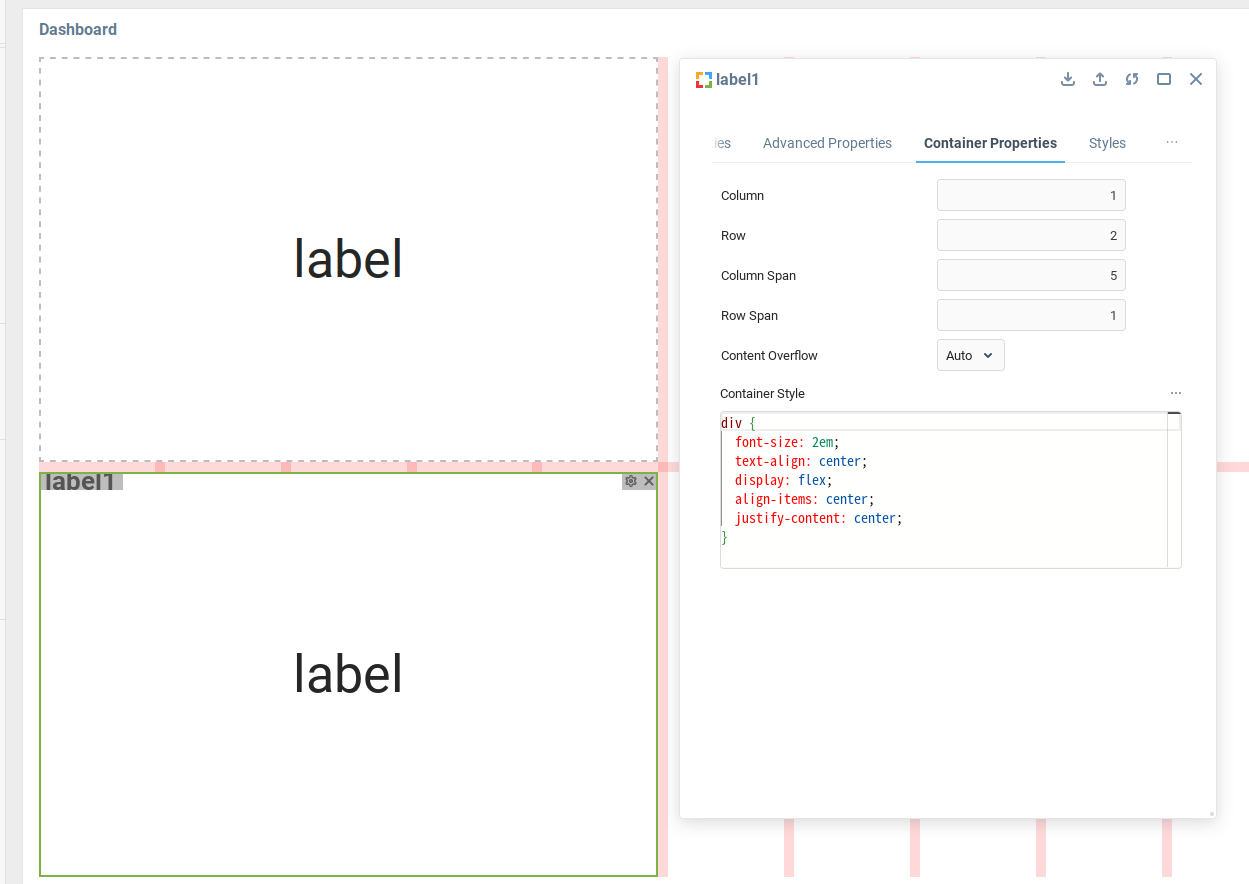
Creating Bindings to Show Data from a Single Device
The following steps will configure bindings to reference the virtual device High Flow, and display its Description as well as the value from its Random variable.
Create bindings targeting each of the Text properties of the labels. This example includes labels named
label0andlabel1.The following two bindings set the value of the Text property of each label. The first binding sets the Text property of the label named
label0to the Description of theHigh Flowdevice on startup. The second binding sets the Text property of the label namedlabel1to the value of the Random variable every few seconds.
Target | Expression | On Startup | Periodically | Period |
|---|---|---|---|---|
form/label0:text | {users.admin.devices.highFlow:info$description} |
|
| |
form/label1:text | {users.admin.devices.highFlow:random$value} |
|
|
|
Previewing the dashboard will show two values, the description of the device High Flow and the current random value of the device.
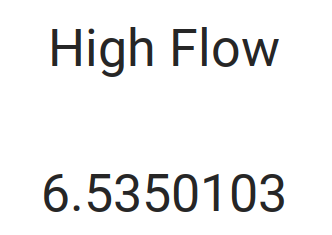
The random value should update every ten seconds.
Creating a Custom Property
Although a Custom Property of the Root Context named DC will be automatically created at runtime when the dashboard deviceDisplay is loaded through an Implant container, it is useful to have the DC custom property configured in the dashboard during development, in order to ensure all bindings are working correctly.
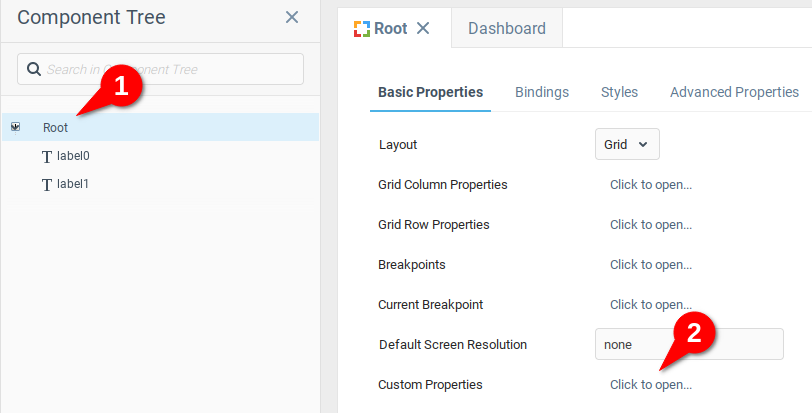
(1) Navigate to the Root of the component tree, and (2) open the Custom Properties variable:
(1) Set the Name to
dc, and open the (2) Format editor:

From the Format editor, set the following values:
Minimal Record Count:
1Maximal Record Count:
1Fields:
Name:
dcType:
StringEditor/Viewer:
Context
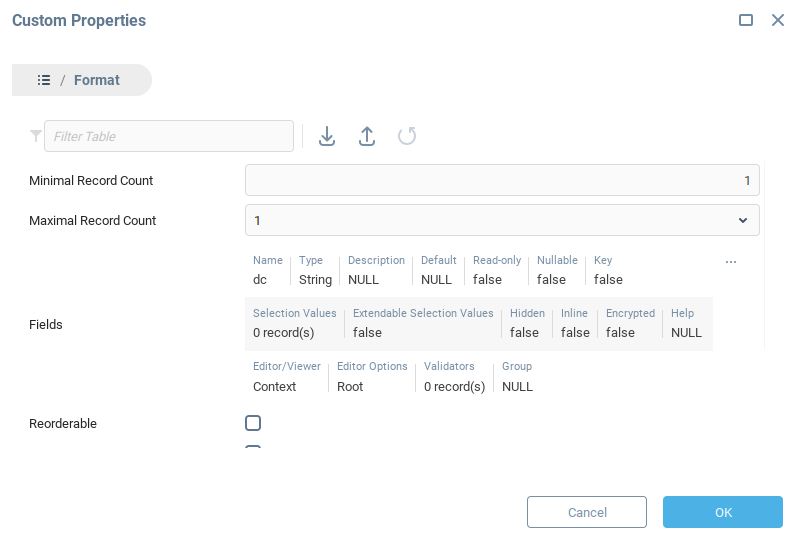
Click OK to save the DC custom property, and close the Format editor.
Navigate to the Root panel (1) properties group Custom Properties (2) and open the newly created custom property DC.
Set the value of DC to the context path of the
Low Flowdevice (3), in this case,users.admin.devices.lowFlow.

The value of DC will be used for debugging the display dashboard. When this dashboard is displayed directly, it will use the value for DC indicated here. When the dashboard is displayed with an Implant container, the value for DC will be taken from the value specified for the Default Context property of the Implant container.
Generalizing Dashboard Bindings
Now that the custom variable DC has been configured, the next step is to change the binding expressions. The current binding expressions {users.admin.devices.highFlow:info$description} and {users.admin.devices.highFlow:random$value} reference a specific device, in this case, the highFlow device. In order to use the context inserted from the Implant container, the reference needs to be generalized.
Returning to the bindings table, make the following changes:
Expression with Absolute Reference | Generalized Binding Expression |
|---|---|
|
|
|
|
The generalized binding expression can be decomposed as follows:
{form/:dc}is a reference to the DC custom value, added to the dashboard during the previous step. Its current value isusers.admin.devices.lowFlow, but will be dynamically updated when the dashboard is used in an Implant container.getVariable("users.admin.devices.lowFlow","info")will get the data table for the property “info” of thelowFlowdevice.cell(...,"description")Retrieves the value of the data table at the specified field, in this case, the field named “description”.
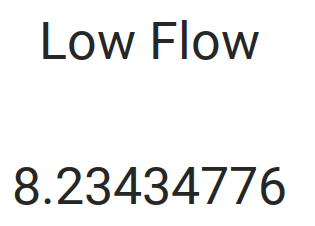
Now when previewing the display dashboard, the labels indicate the lowFlow device:
Configuring Parent Dashboard with Implant Containers:
In order to reuse the display dashboard for multiple devices, the Implant container will be used several times in a parent dashboard.
Create a new dashboard and open it for editing.
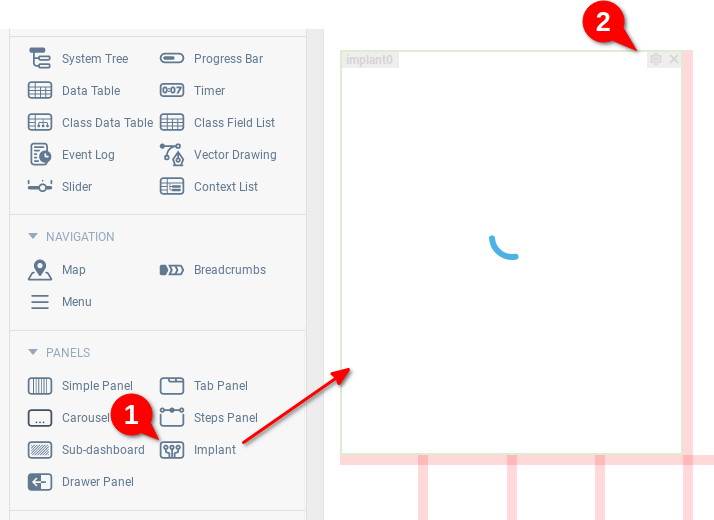
Add an Implant container to the work area (1), and open its properties editor (2).
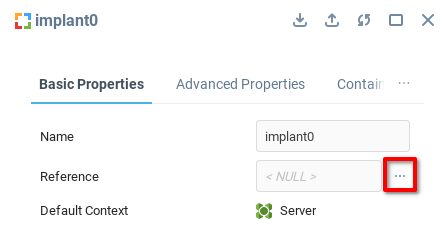
In the properties editor, open the selector for the Reference property. This is where the display dashboard will be indicated
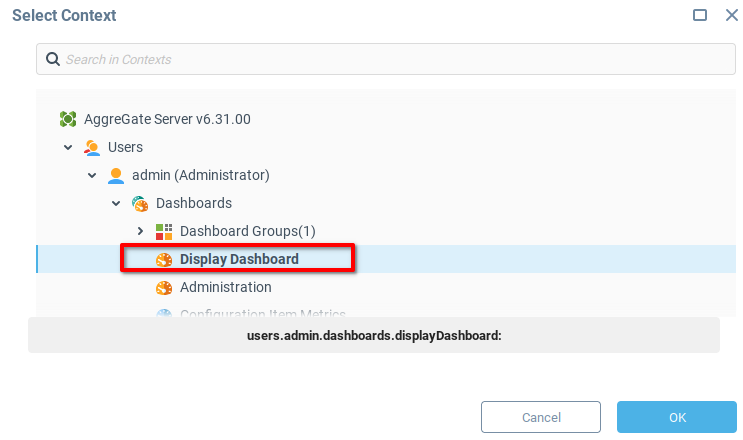
From the Select Context menu, choose the Display Dashboard, and click OK to save and close.
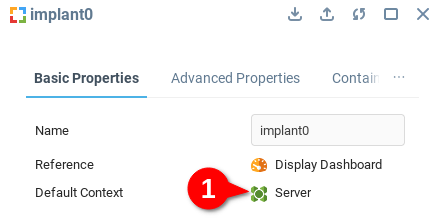
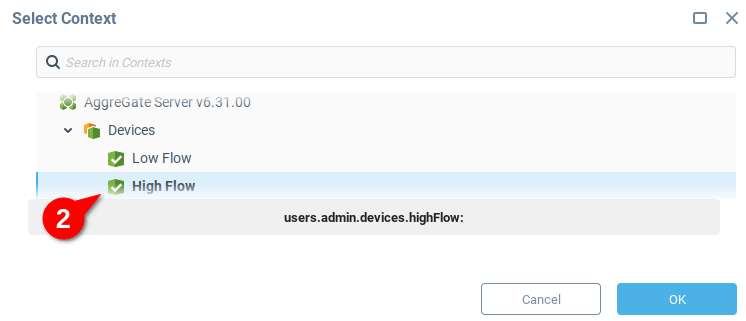
Similarly, set the Default Context (1) to the
High Flowdevice (2).
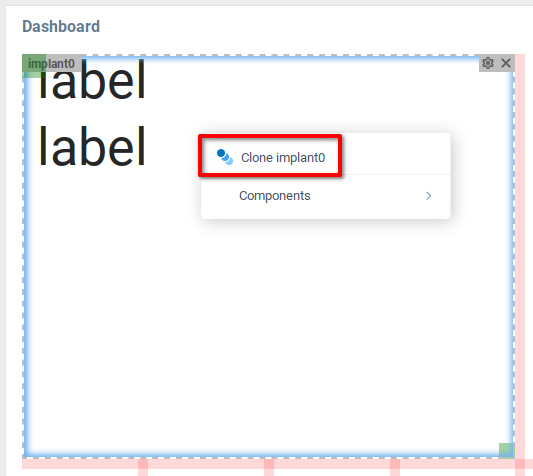
Once the first Implant container has been configured, right-click on the container to open the context menu, and select Clone implant0
Open the properties editor for the cloned Implant container, and set the Default Context to the
Low Flowdevice.Previewing the Device Overview dashboard will render the Display Dashboard twice, but with different values for the Default Context. As a result, different values
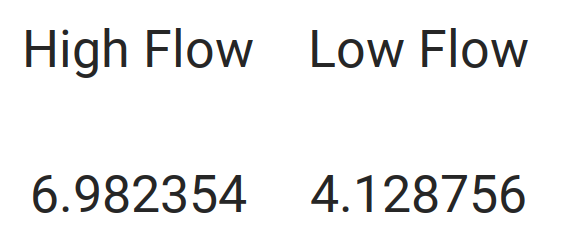
This basic overview shows how to reuse dashboards with the Implant component and its Default Context property. Consider visiting the section Styling the UI for information about how to control how the dashboard elements are presented.
Was this page helpful?